How to diagnose with OBD in APP
1. Connect to the Scanner
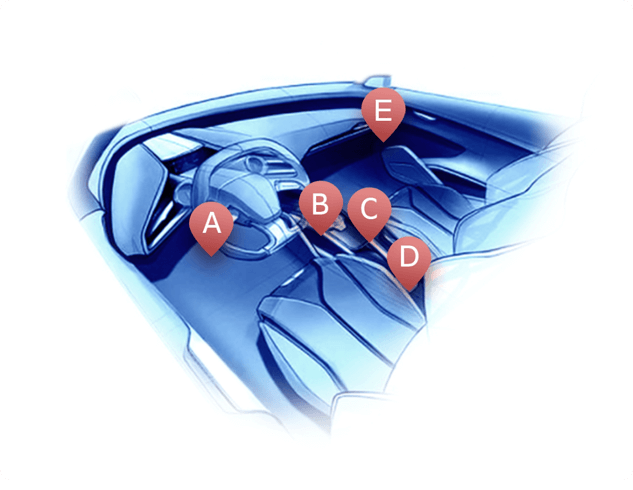
No matter you bought the Thinkcar 1 or Thinkcar 1S, the ways to connect to the Thinkcar APP are the same. The first step is to plug the scanner to OBD port of your vehicle. The positions of the OBD port might be different from different vehicles, please find the port according to the following picture.
After plugging the scanner in, the indicator light will turn red which means the scanner is connected and ready to connect the phone.
2. Select Diagnostic Function
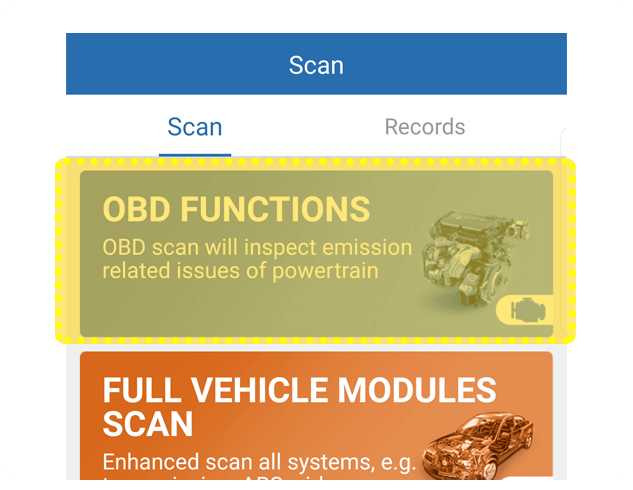
After connection the scanner successfully, select OBD FUNCTIONS on the "Scan" page.
On this page, if the scanner is not connected, there will be a pop-up that reminding you to connect to the devices. If it’s already connected, the diagnostic will start automatically.
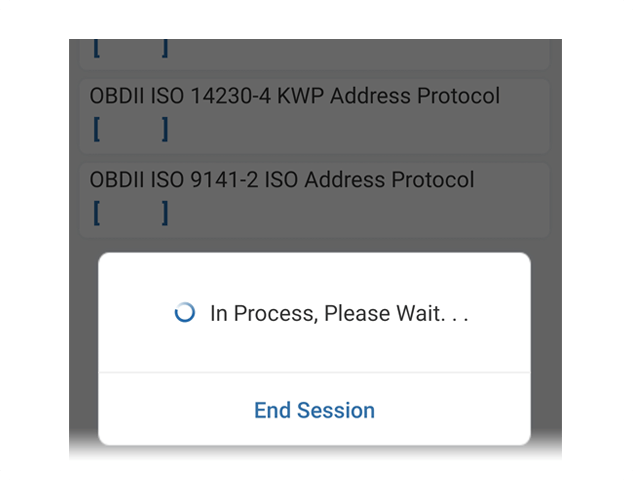
On the diagnostic page, vehicle protocol scanning will begin.
3. OBD Full Functions
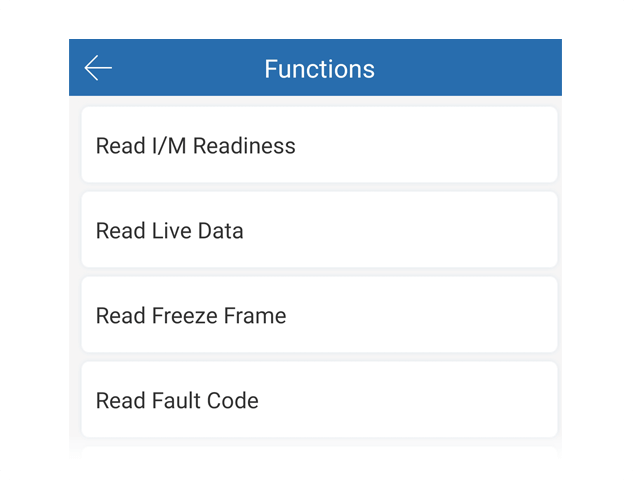
On the OBD Full Functions page, you could select the test items you need, which include live data stream check, fault code check, clear fault code, exhaust gas compliance index, oscillograph, etc.