Full System Diagnose for the vehicle
1. Connect to the Scanner
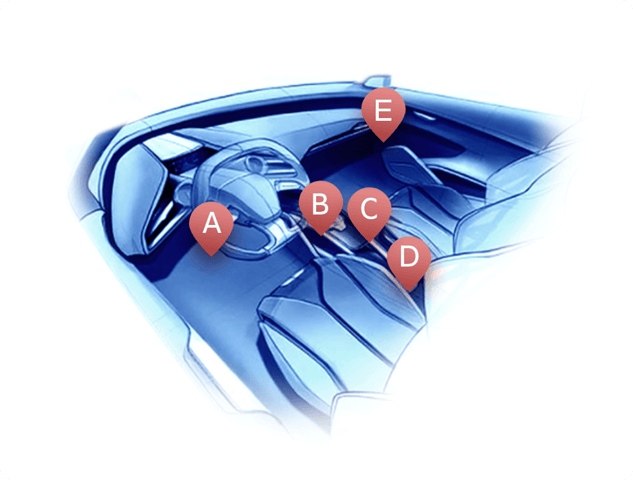
No matter you bought the Thinkcar 1 or Thinkcar 1S, the ways to connect to the Thinkcar APP are the same. The first step is to plug the scanner to OBD port of your vehicle. The positions of the OBD port might be different from different vehicles, please find the port according to the following picture.
After plugging the scanner in, the indicator light will turn red which means the scanner is connected and ready to connect the phone.
2. Select the full system Diagnostic
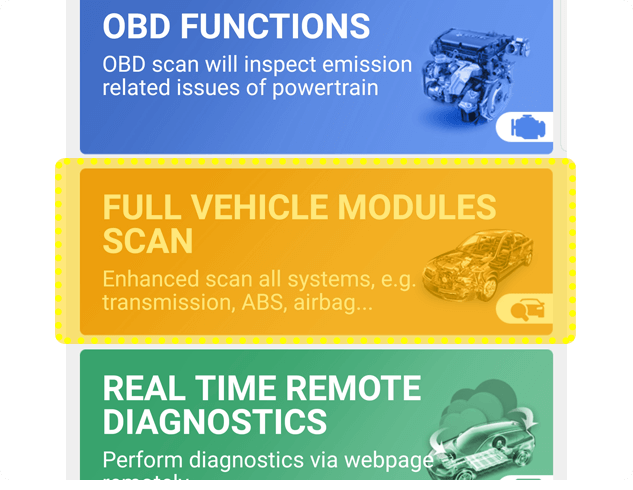
After connecting to the devices successfully, select the full system Diagnostic by clicking on the orange area on "Scan" page.
On this page, if the scanner is not connected, there will be a pop-up that reminding you to connect to the devices. If it’s already connected, the diagnostic will start automatically.
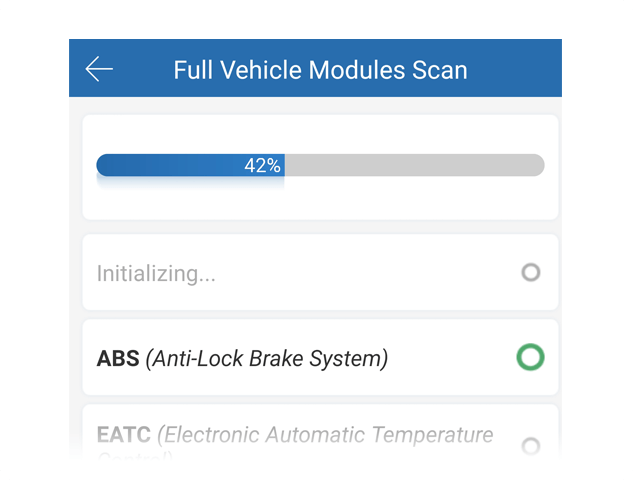
After entering the diagnostic page, full system diagnostic will start to work. The brand name, the model, year and the VIN of this vehicle will be readed for diagnosing the car better.
3. Scaning completed
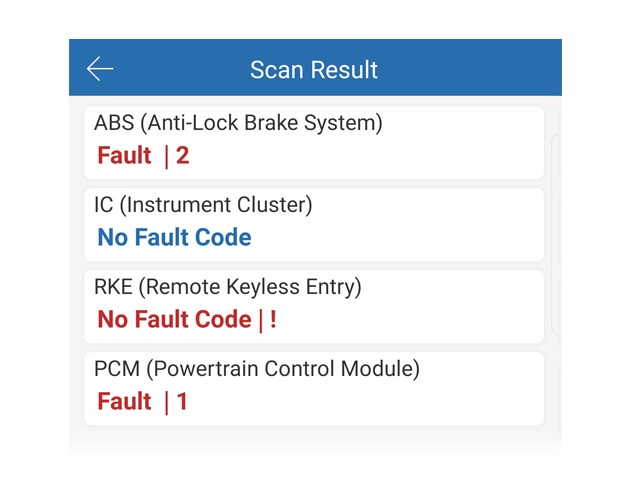
After the scanning, the page will show the number of fault codes of the system and each system contained in the vehicle. You can choose to clear the cache with one move or generate them as a test report.
4. The Test Report
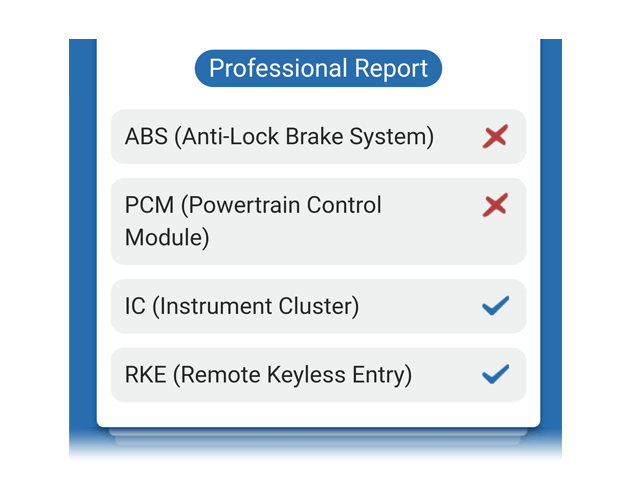
The test report contains four parts: 1. Title; 2. Basic information of the vehicle; 3. Test report for vehicle owner; 4. Professional test report for mechanics.